Customers can choose a single sign on (SSO) solution available in Calem including LDAP; and SAML. The LDAP authentication is performed behind scenes from Calem to LDAP servers. It is a choice for Calem Services behind firewalls.
SAML performs sign-sign-on from the ID providers. It is a good choice for SSO over the internet.
- Users accessing Calem are sent to ID Providers for authentication.
- The ID Providers show login screen for users to authenticate.
- Upon authentication users are logged into Calem Site.

1. Install SimpleSAMLphp
Calem uses SimpleSAMLphp (https://simplesamlphp.org) to implement a service provider (SP) for SAML SSO. The first step is to download and install SimpleSAML from https://simplesamlphp.org/docs/stable/simplesamlphp-install.
Next, configure the SimpleSAML site. If you work with Apache, set up the "samplesaml" site per instruction below.
- Perform steps in https://simplesamlphp.org/docs/stable/simplesamlphp-install#section_4
- For instance, your simplesaml site should be referenced as https://acme.calemeam.com/simplesaml.
Calem acts as a service provider (SP) in the SAML schema. The authentication authority is the Id Provider (IdP). SP and IdP need to be configured so they recognize each other and can work together. See the reference doc of https://simplesamlphp.org/docs/stable/simplesamlphp-sp.
The first step is to obtain the metadata of your IdP. It is an XML file and can be obtained from your IdP organization. Use the file to set up the remote IdP at your server (the SP).
- For instance, sign into your simplesaml site at https://acme.calemeam.com/simplesaml/admin/metadata-converter.php
- Copy-past the content of the IdP metadata xml file and parse it.
- Copy-past the parsed results into your configuration file at SimpleSAML_Home/metadata/saml20-idp-remote.php
- The IdP will be used for user authentication.
- The process needs to be repeated every time the IdP SSL certificate is updated.
Next, prepare the metadata of your SP and provide to your IdP organization. The first step is to enable a certification for your SP – see "1.1 Enabling a certificate for your Service Provider" at https://simplesamlphp.org/docs/stable/simplesamlphp-sp.
Next, sign into your simplesaml site and view its Federation tab to view your SP metadata in xml. For example, your metadata xml file is at https://acme.calemeam.com/simplesaml/module.php/saml/sp/metadata.php/default-sp?output=xhtml.
- Copy-past the xml content into an xml file. This is the metadata file for your server (the SP).
- Provide your SP metadata xml file to your IdP organization for uploading into the IdP.
3. Calem Setup
Once you have completed the setup of your SP and IdP in the sections above, you may proceed to setting up Calem to use SimpleSAML to perform SAML SSO with your IdP. For example, your simpleSAMlphp is installed at '/srv/www/simplesamlphp', add the following lines to your Calem_Home/server/conf/calem.custom.php to enable SAML SSO and provide the full path of the loader file for SimpleSAMLphp.
$_CALEM_dist['saml_conf']['saml_sso']=true;
$_CALEM_dist['saml_conf']['saml_loader']='/srv/www/simplesamlphp/lib/_autoload.php';
You may also configure the attribute name (if different from the default) for username returned by the IdP after a user is authenticated. Its default value is 'UserId':
$_CALEM_dist['saml_conf']['saml_attr_userid']='UserId';
4. Login with SAML
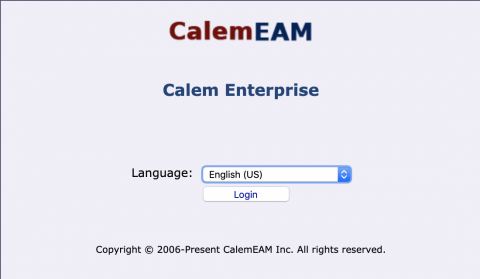
When you launch your Calem Ajax Web client, the login screen shows the language option. Click "Login" button to launch SAML authentication.
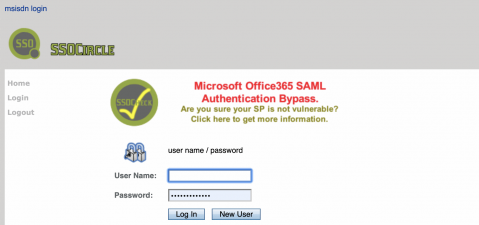
The IdP (ID Provider) will show a screen to enter username and password. The following is a sample screen of SSO Circle as the IdP. Enter your user name and password to authenticate with the IdP. Once your account is authenticated, your user name is used to continue the login process into Calem.
- The user name must be configured in Calem for the user to log into Calem. See Login User Setup in Calem.
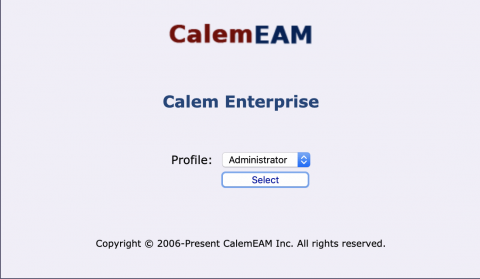
For instance, if you have more than one ACL profile configured. Calem will prompt you to pick a profile to complete the login.
Additional resources