Calem Blogs
How to Transfer and Dispose Inventory
This is the original blog about transfer and disposal.
- See this blog for the latest update.
- See this blog for simplified processes for transfer and disposal.
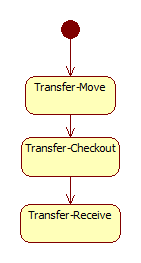
Inventory transfer is introduced in release R2022a (March 2022). It allows one to transfer parts from one site to another. There are three steps to execute a part transfer:
- Move a part to a "Transient" storeroom
- Check out a part and ship to another site
- Receive a part transferred at the destination site
1. Who and Where to Transfer
The transfer process requires the configuration of storeroom teams who can transfer parts and sites to transfer to.
- The menu to set up storeroom teams: Organization | ACL Profiles | Storeroom Team
- Set "Can Transfer" checked for teams who can do part transfer.
- Use menu "Inventory Site Transfer" to define sites that a part can be transferred to.
2. Storerooms for Transfer
Storeroom categories (or restrictions previously) define the roles of a storeroom.
- "Transient" - Storerooms holding parts to be transferred
- "Disposable" - Storerooms holding parts to be disposed
- Parts in these two storerooms can be checked out for transfer to other sites.
- Configure at least one "Transient" or "Disposable" storeroom to do stock transfer.
3. Step 1 - Move Parts to Transient/Disposable Storerooms
The first step is to move a part to a storeroom of Transient or Disposable category.
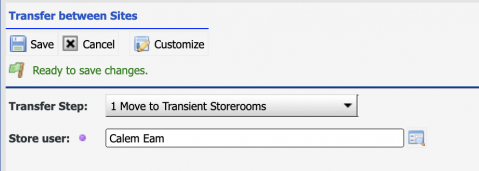
- Menu path: Inventory | Transactions | Transfer between Sites
- Select step 1 from the dropdown, click "Save" to continue.
- The move transaction is launched.
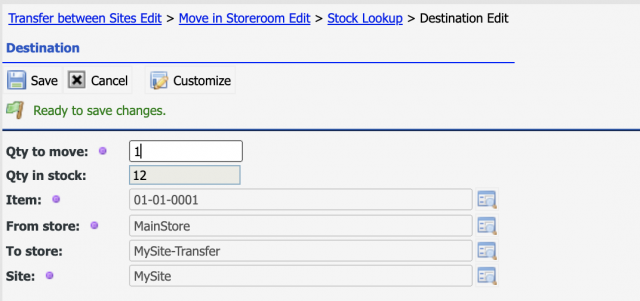
- Select the storeroom to move from, and a transient or disposable storeroom to move to.
- Select a stock item and edit quantity (if not an asset item) to move
- Select the bin to move to in the transient/disposable storeroom
- Complete the move transaction
4. Step 2 - Checkout for Transfer
Next step is to check out a part and transfer to another site.
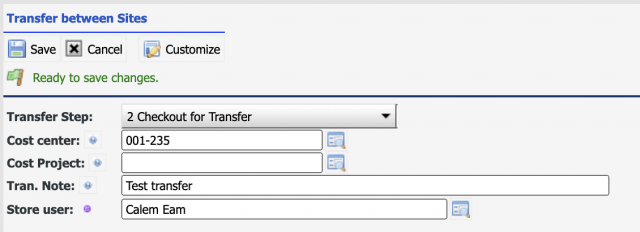
- Menu path: Inventory | Transactions | Transfer between Sites
- Select step 2 from the dropdown, click "Save" to continue.
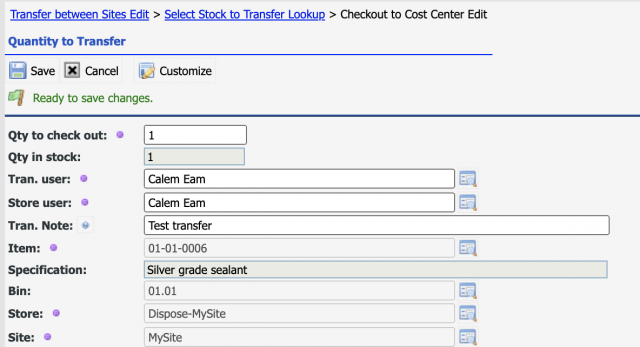
- The checkout transaction is launched.
- Select a stock item and edit quantity (if not an asset item) to checkout
- Select a site to transfer to
- Complete the checkout transaction
5. Step 3 - Receive Transfer
The final step is to receive the parts transfered.
- Menu path: Inventory | Transactions | Transfer between Sites
- Select step 3 from the dropdown, click "Save" to continue.
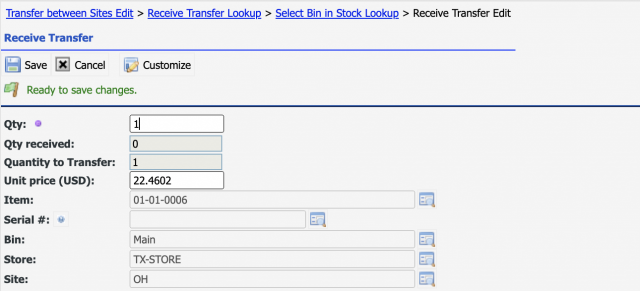
- Select a transfer transaction to receive
- Edit quantity to receive
- Select a bin to receive to
- Complete the receive transaction
6. Dispose Inventory
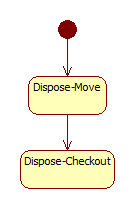
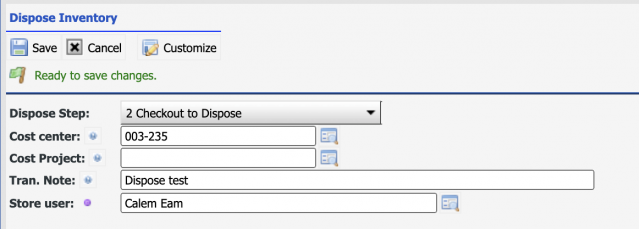
The "Dispose" transaction is introduced in release R2022a (March 2022). It allows one to remove an inventory from stock for disposal. There are two steps to dispose an inventory.
- Move a part to a "Dispose" storeroom
- Check out a part for disposal
The dispose processes include the following steps.
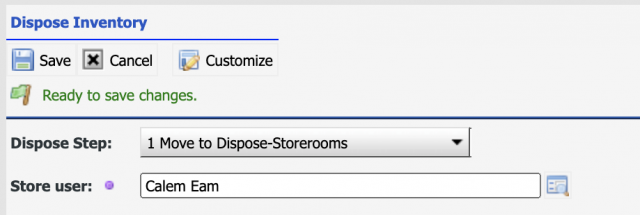
- Menu path: Inventory | Transaction | Dispose Inventory
- A storeroom team must be enabled to dispose parts
- Menu path: Organization | ACL Profiles | Storeroom Team
- Set "Can Dispose" checked for teams who can dispose inventory.
- See the screenshot above for "Transfer" transaction
- Dispose-Storerooms must be defined
- Menu path: Inventory | Open | Store List
- Edit a storeroom and set its category to "Disposable" to stage parts to be disposed.
- See the screenshot above for "Transfer" transaction.
- The first step is to move a part to a "Disposable" storeroom.
- The screen flow is similar to the first step in "Transfer" transaction above.
- The second step is to checkout a part for disposal.
Resources
- A Revisit of Inventory Transfer and Disposal
- Simplifying Inventory Transfer and Disposal
- Part Repair Processes in Calem
- How to Track Asset Off-Site Repairs
- How to Use Price Lot in Calem
- Work Order Life-Cycle Diagrams
- Asset Tracking in Calem
- User Guide and Admin Guide (customer account required)
- Calem Enterprise Training Site
- Calem Enterprise Blogs
- Calem Enterprise demo
By accepting you will be accessing a service provided by a third-party external to https://eam.calemeam.com/
